
Step-by-Step Marine Adhesive Application
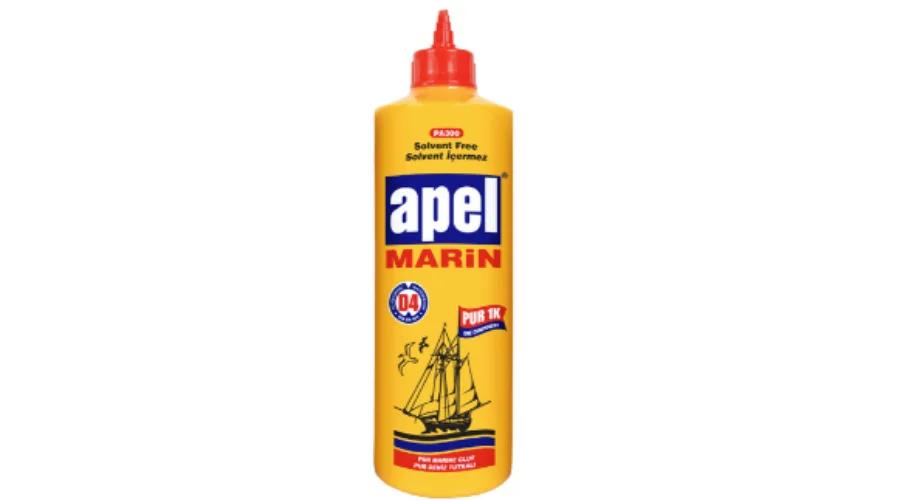
Marine adhesive is a water-resistant type of glue frequently preferred especially in woodworking and furniture making. This polyurethane-based adhesive cures with moisture in the air, provides strong bonding, and is well suited for use in outdoor furniture, boat building, and kitchens and other areas exposed to water. Here are the step-by-step details of applying marine adhesive:
Materials and Tools
- Marine adhesive
- Wooden pieces to be joined
- Brush or spatula
- Sandpaper
- Clean cloths
- Clamps or other clamping tools
Step 1: Surface Preparation
Before you begin, make sure the wood surfaces are clean, dry, and free of grease. Remove any old paint or varnish with sandpaper. Wipe away dust and dirt with a clean cloth.
Step 2: Applying the Adhesive
Apply the marine adhesive evenly to the surfaces to be joined using a brush or spatula. Make sure the adhesive covers the surface sufficiently, without forming a thick layer. Excess adhesive can lead to unwanted seepage.
Step 3: Joining the Pieces
Press the glued surfaces together. Align the pieces and position them neatly so there are no gaps between them. The surfaces should be in full contact.
Step 4: Clamping
Using clamps or other clamping tools, make sure the glued pieces are held firmly together. This prevents the pieces from shifting while the adhesive cures. Marine adhesive typically takes around 24 hours to fully cure.
Step 5: Curing Time
Wait for the adhesive to fully cure. This process may vary depending on the adhesive's composition and the surrounding weather and environmental conditions. Be patient, and avoid touching the pieces during the curing period.
Step 6: Removing Excess Adhesive
Once the adhesive has cured, carefully scrape off any excess with a knife. Sand the surface for a smooth, even finish.
Step 7: Finishing Touches
Finally, you can optionally paint or varnish the repaired or newly made wooden piece. This gives it an attractive finish and helps protect the wood for longer.
Care and precision matter when working with marine adhesive. Small mistakes during application can significantly affect the result. When applied correctly, however, marine adhesive provides strong, water- and moisture-resistant bonds, keeping wooden structures durable for many years.
- Beta Kimya at Eisenwarenmesse Cologne 2026: The Global Meeting Point for Industrial Adhesives and Sealing Solutions
- The APEL Story: Beta Kimya's Journey of Production and Innovation from 1987 to Today
- Perfect Solution for Heat and Sound Insulation with APEL PF400
- You'll Be Amazed by What You Can Do with Wood Glue!
- Step-by-Step Marine Adhesive Application
- What is Polyurethane, Where is it Used?
- How to Clean Silicone?
- What is Sealant Spray?
- What is Koliband? What are its applications?
- What are the types of adhesives?
- What are Cyanoacrylate Adhesives?
- How to Remove Double-Sided Tape?
- What is Aquarium Silicone?
- 5 Decorative Ideas with Liquid Nail/Adhesive for Mounting
- What is Aluminum Tape? Where is it Used?
- What is Masking Tape? Where is it Used?
- What is Silicone Adhesive and Acrylic Adhesive? Where are they used?
- You'll Be Amazed by What You Can Do with Wood Glue
- Apel BK-20 Brake Pad Cleaner for Your Brake Maintenance
- What is Pas Remover Spray and How to Use It?
- Polyurethane Foam's 5 Places in Our Lives
- Relax and Unwind!
- Apel Sealing Tape - We Never Leak!
- What is Apel Non-Slip Tape and What Does it Do?
- Quickly Bonding: 5 Situations You Need Fast Adhesives
- What is Rubber Tire Spray Used For and When Should It Be Used?
- Apel Polyurethane Foam - What Is It and Where Can I Use It?
- Intermob Fair & Beta Kimya
- What is Hotmelt (Pebble Adhesives)?
- How to Make a Chair at Home?
- What is White Glue? What Can It Stick?
- How to Use Adhesive?
- Water-Resistant Adhesive Varieties
- What is the difference between silicone and adhesive?
- How is Silicone Produced?
- What is Polyurethane Foam and Where is it Used?
- What is Paint Stripper Spray?
- Does Glass Adhesive Really Work?
- What are the advantages of spray disinfectants?
- Where is Silicon Used? What is Silicon?
- How long does an alcohol-based hand sanitizer last?
- How to Prevent Water Seepage from Windows?
- Application Areas and Advantages of D3 Skeletal Adhesive
- What Can Be Achieved with the Irreplaceable Silicon Gun for Handwork?
- Winter Solutions from Beta Kimya Products
- Mirror Adhesion, How to Attach a Mirror?
- What are the Applications and Fields of Interest?
- What are the applications of liquid glue?
- What is Wood Glue? What are its Types? Where and How is it Used?
- What is Deniz Tutkalı Used For?
- Why Should We Use Disinfectants During the Coronavirus Period?
- What is Disinfectant and Where is it Used?
- How to Remove Quick Adhesive Stains?
- How to Make Slime?
- Where is Quick Adhesive Used?
- Does Gum Spray Remove Rust?
- Where is Wood and Hobby Glue Used?
- Did You Know ?
- We Introduced Our New Products at INTERMOB 2019
- What should you do to fill gaps?
- Same Application, Different Results?
- Which is the Best Adhesive?
